 Hosting wordpress
Programming & Tech
Hosting wordpress
Hosting wordpress
Array
Product SKU: PTHW
Product Info
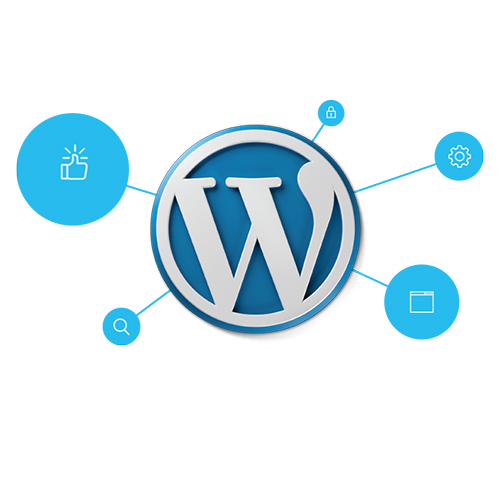
To host a WordPress website, you need to choose a hosting provider, register a domain name, set up a hosting account, install WordPress using the provider's one-click installer, configure WordPress through the admin dashboard, customize your website's design and functionality with themes and plugins, create content, implement security measures, optimize performance, and finally launch your website by updating DNS settings. Regular updates and maintenance are crucial for a secure and well-functioning WordPress site.
Description
-
To host a WordPress website, you have a few options available. Here's a step-by-step guide on how to host a WordPress website:
-
Choose a hosting provider: There are numerous hosting providers available, each offering different features and pricing plans. Some popular hosting providers for WordPress are Bluehost, SiteGround, and DreamHost. Compare their offerings and choose one that fits your requirements and budget.
-
Register a domain name: A domain name is an address that users will use to access your website (e.g., www.yourwebsite.com). Most hosting providers also offer domain registration services. Alternatively, you can register a domain separately through domain registrars like GoDaddy or Namecheap and connect it to your hosting provider later.
-
Set up a hosting account: Sign up for a hosting account with your chosen provider. This typically involves creating an account, selecting a hosting plan, and making the necessary payment.
-
Install WordPress: Most hosting providers offer a one-click WordPress installation feature, which simplifies the process. Log in to your hosting account's control panel (usually through cPanel) and look for the WordPress installer. Follow the prompts to install WordPress on your hosting account.
-
Configure WordPress: After installation, you'll need to set up your WordPress website. Access the WordPress admin dashboard by visiting www.yourwebsite.com/wp-admin. Log in using the credentials you created during the installation process. From the dashboard, you can customize your website's appearance, install themes and plugins, and create pages or blog posts.
-
Design and customize your website: Choose a WordPress theme that aligns with your website's purpose and customize it to suit your branding and design preferences. You can also install plugins to add additional functionality to your website, such as contact forms, SEO optimization, security, and social media integration.
-
Create content: Start creating pages and blog posts to populate your website with content. WordPress offers a user-friendly editor that allows you to add text, images, videos, and other media to your posts and pages.
-
Secure your website: Implement security measures to protect your WordPress website from potential threats. This includes regularly updating WordPress and its plugins/themes, using strong passwords, and installing security plugins.
-
Optimize for performance: Improve your website's performance by optimizing its speed and load times. You can achieve this by using caching plugins, optimizing images, and choosing a reliable hosting provider with good server performance.
-
Launch your website: Once you're satisfied with the design and content of your website, it's time to make it live. Update your domain's DNS settings to point to your hosting provider's servers. This process may vary depending on your domain registrar and hosting provider, so consult their documentation or support if needed.
Following these steps will help you host a WordPress website successfully. Remember to regularly update WordPress, themes, and plugins to keep your website secure and functioning optimally.
-
About
Professional services
Help and support
Terms